Home
How to Create Viral 4K Naruto Edits for TikTok and YouTube
To create high-quality Naruto edits, start by sourcing raw scenepacks (clips without subtitles) from community projects like Naruto Kai . Use Alight Motion (mobile) or After Effects (desktop) to master keyframe easing and motion blur. For the viral "4K Gleam" look, upscale your footage using the AnimeUpscale script and apply selective color correction to make character effects pop. Always credit inspirations using the "ib" tag to maintain community standing.
Why Naruto Edits Are Dominating Social Media Right Now
The world of anime editing has undergone a massive transformation in recent years. What used to be simple Anime Music Videos (AMVs) on YouTube has evolved into a highly technical, short-form art style that commands millions of views. As of late 2026, the #narutoedits hashtag on TikTok has surpassed 413,000 posts, showcasing the enduring popularity of Masashi Kishimoto’s universe.
This dominance is driven by the visual evolution of the medium. Modern creators are no longer satisfied with standard definition clips; they are pushing the boundaries of fidelity with 4K "Gleam" masterpieces. These edits combine high-frame-rate upscaling with artificial lighting effects that make the original animation look like a modern cinematic production. The engagement rates reflect this effort, with niche character-focused edits frequently reaching over 90,000 likes within days of posting.
Furthermore, the community aspect of Naruto editing is exceptionally strong. Creators don't just post content; they participate in trends, share "scenepacks," and engage in a complex system of stylistic attribution. This guide aims to transition you from a passive viewer to an active creator by providing the technical workflows used by the top editors in the scene today.
What Are the Most Popular Styles of Naruto Edits
Before you open your editing software, you need to identify the style you want to emulate. The Naruto community has developed several distinct sub-genres, each requiring a different technical approach.
The High-Energy "Boom Edit"
Boom edits are designed for maximum impact. They are characterized by heavy bass synchronization, aggressive screen shakes, and high saturation. These edits often focus on high-stakes battle scenes, such as Naruto vs. Pain or Madara vs. The Shinobi Alliance. The goal is to make the viewer feel the weight of every punch and jutsu through visual distortion and rapid-fire cuts.
The Aesthetic "Manga Edit"
This style pays homage to the source material. Manga edits often use black and white transitions, panel sliding effects, and high-contrast overlays to mimic the look of a manga page coming to life. It is a popular choice for emotional character studies, focusing on the internal struggles of characters like Itachi or Kakashi.
The "Velocity" and Speed Ramping Style
Velocity editing is all about the rhythm. By using speed ramping—slowing down footage during a buildup and accelerating it during a beat drop—editors create a fluid, hypnotic motion. This style is exceptionally strong when paired with lo-fi or phonk music, where the visual "flow" is more important than the narrative of the scene.
The "4K Gleam" and "Dark Triad" Trends
The "Gleam" look is the current gold standard. It involves upscaling 720p footage to 4K and adding artificial lighting (glows) to specific elements, like Naruto’s eyes or Sasuke’s Chidori. Closely related is the "Dark Triad" trend, which applies a dark, psychological editing style to anti-heroes and villains, emphasizing themes of power and narcissism.
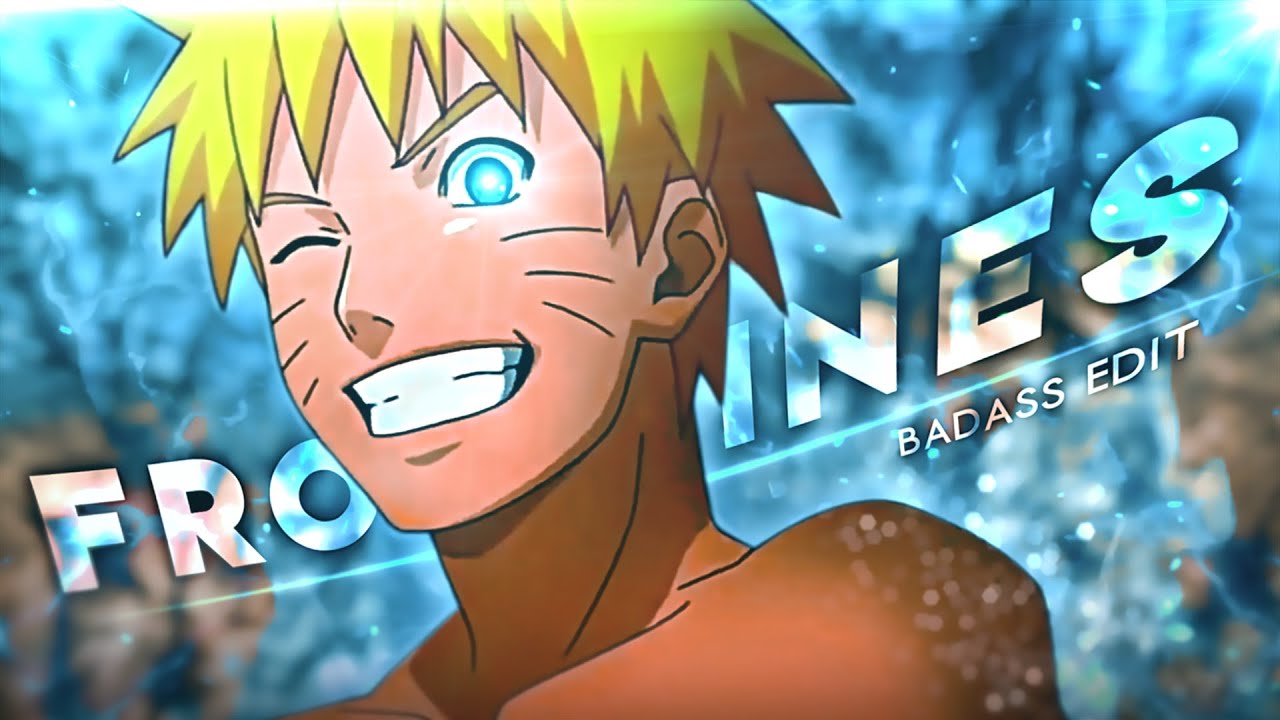
Image source: YouTube
Which Editing Software Should You Choose for Your Projects
Your choice of software depends on your hardware and how much time you are willing to invest in the learning curve. While mobile apps have become incredibly capable, desktop software still offers a level of precision that is difficult to match on a touchscreen.
| Criteria | CapCut (Mobile) | Alight Motion (Mobile) | After Effects (PC) |
|---|---|---|---|
| Learning Curve | Low - Beginner Friendly | Medium - Steep for Mobile | High - Professional Level |
| Key Features | Auto-sync, basic filters | Custom graphs, masking | Plugins (Twixtor, RSMB) |
| Export Quality | Good (Up to 4K) | Great (High Bitrate) | Top-Tier (Lossless) |
| Cost | Free / Subscription | Free / Subscription | Subscription (Adobe) |
For mobile users, Alight Motion stands out as a top choice for those who want to move beyond basic transitions. It allows for manual keyframe easing, which is essential for achieving smooth motion. However, if you are just starting out, CapCut offers a more intuitive interface for quick "Velocity" edits. For those looking to reach a professional standard, Adobe After Effects remains the industry leader due to its support for advanced plugins like Twixtor (for slow motion) and Deep Glow.
How to Find High Quality Naruto Scenepacks Without Subtitles
The most common mistake new editors make is using clips with subtitles or watermarks. To create a professional-looking edit, you must use "raw" footage. In the community, these are distributed as "scenepacks"—pre-cut clips of specific characters or fights that have been cleaned of all UI elements.
A highly recommended resource for finding these clips is the Naruto Kai project. This fan-led initiative has re-edited the entire 720-episode series to remove filler and align the pacing with the original manga. By using Naruto Kai episodes, you can quickly find high-impact canon scenes without sifting through hundreds of hours of non-essential content. Many creators also share vetted scenepacks on Discord servers and Instagram dedicated to anime editing.
Step by Step Guide to Making Your First Naruto Edit in Alight Motion
Alight Motion is widely regarded as one of the strongest mobile editing apps because of its graph editor. Follow this workflow to create a smooth transition edit.
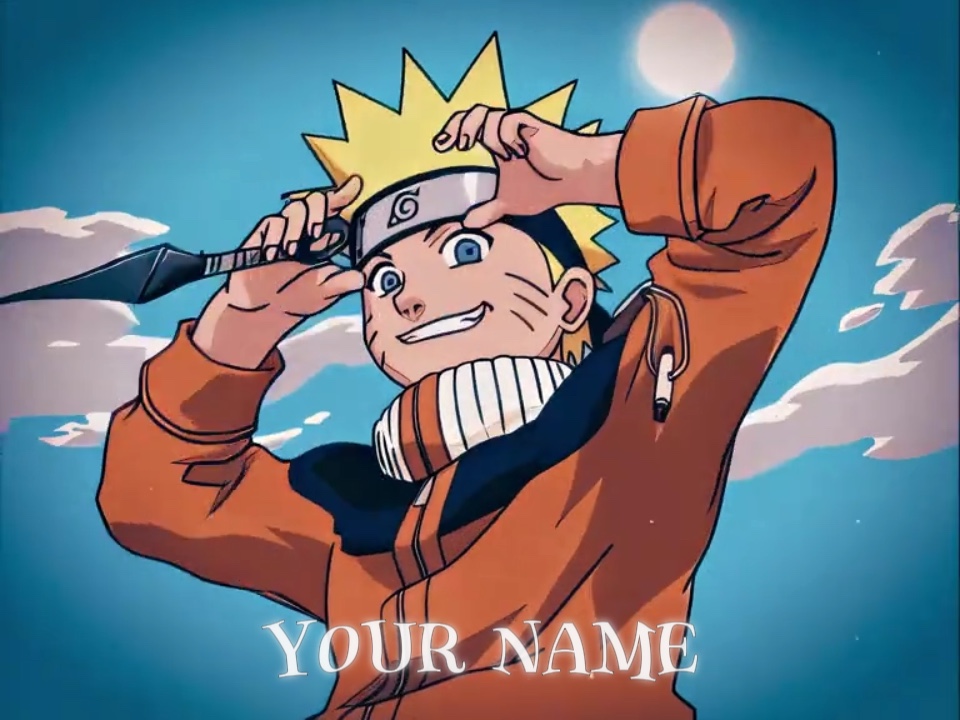
Image source: Pippit AI
How to Achieve the 4K Gleam Look Using AnimeUpscale
One of the biggest challenges in Naruto editing is the quality of early Shippuden episodes. Many of these were produced in 480p or 720p, which looks blurry on modern smartphone screens. To fix this, top editors use AI-driven upscaling tools.
The AnimeUpscale script is a notably innovative tool that uses neural networks to "draw" in missing pixels. By running your raw clips through this process before editing, you can achieve a crispness that rivals modern shows like Demon Slayer . Once upscaled, the "Gleam" look is achieved through selective color correction (CC). Editors often boost the "Whites" and "Highlights" while adding a slight blue or orange tint to the shadows, depending on the character's chakra color.
When exporting for TikTok, ensure you use a high bitrate (at least 15-20 Mbps). TikTok’s compression algorithm is notorious for ruining high-quality files, so uploading a file that is slightly "over-specced" helps maintain clarity once it goes live on the platform.
Why the Naruto Canon Edit Project Is a Top Way to Watch the Series
For editors, the Naruto Canon Edit (Naruto Kai) is more than just a way to watch the show; it is a vital utility. The original broadcast of Naruto is roughly 40% filler, which can make finding specific manga-canon moments difficult.
The Kai project condenses the 720 episodes into roughly 72 feature-length "volumes," each corresponding to a volume of the original manga. This makes it a popular choice for editors who want to ensure their work is 100% manga-accurate. While some editors choose to keep specific "semi-filler" scenes—like Sasori’s emotional backstories—for their narrative weight, the Kai project remains the most efficient way to access high-quality, high-impact footage for your edits.
How to Properly Credit Other Creators Using the IB System
The anime editing community is built on a foundation of shared inspiration. However, there is a fine line between being inspired by a style and "stealing" an edit. To navigate this, the community uses the "ib" (Inspired By) system.
If you see a specific transition, color grade, or audio cut that you want to use, it is standard etiquette to include "ib: [Creator Name]" in your caption. This is especially important for "CC" (Color Correction) presets. Many top editors sell or give away their CC settings, and using them without credit can lead to community backlash. Crediting others not only shows respect but also helps you build connections with larger creators who may eventually share your work.
Advanced Workflow for Desktop Editors Using After Effects
If you have moved beyond mobile apps, your workflow will likely center around Adobe After Effects. This software allows for a level of compositing that is exceptionally strong compared to other options.
Precision Cutting with MKVToolNix
Before importing into After Effects, many pros use MKVToolNix or SolveigMM Video Splitter . These tools allow you to cut clips from large episode files without re-encoding them, which means zero loss in visual quality. This ensures that your starting point is as clean as possible.
Essential Plugins: Twixtor and RSMB
To get that ultra-smooth, slow-motion look seen in viral Naruto edits, the Twixtor plugin is essential. It uses optical flow to calculate new frames between existing ones, allowing a 24fps clip to look like it was shot at 120fps. Additionally, RSMB (ReelSmart Motion Blur) is used to add natural-looking blur to movements that were originally too sharp, giving the edit a more cinematic feel.
Frequently Asked Questions
Key Takeaways for Mastering Naruto Edits
Creating viral Naruto edits is a blend of technical skill and a deep appreciation for the source material. By following these steps, you can elevate your content to a professional standard.
- Source Raw Footage: Always use clips without subtitles from scenepacks or Naruto Kai.
- Master the Graph: Use S-curves in Alight Motion or After Effects for fluid motion.
- Upscale for Quality: Use AI tools to reach the 4K standard required for modern trends.
- Apply Motion Blur: Never skip motion blur; it is the secret to making transitions look natural.
- Respect the Community: Use the "ib" system to credit your inspirations and build your reputation.
- Focus on Lighting: Use "Gleam" effects and selective CC to make your edits stand out visually.
Start by downloading a small scenepack today and practicing a single "Velocity" transition to get a feel for the timing.